How To Install Kitchen Cabinet Handles
Posted On: Jan 20, 2023
Categories: Cup Handles
How To Install Kitchen Cabinet Handles
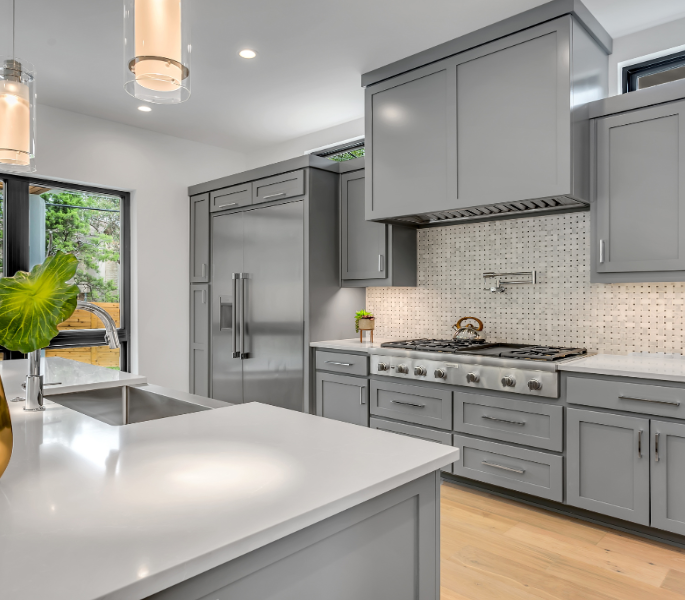
Installing new kitchen cabinet handles onto your existing cabinets is one of the most affordable, and quickest ways to deliver a fresh, and exciting new feel in a kitchen.
Pull handles are one of the most versatile styles of cabinet hardware which work with traditional, through to contemporary kitchen schemes.
For those with limited mobility, pull handles are also one of the best types of cabinet handles.
With your new kitchen cabinet handles at the ready, join us in our step by step guide on how to install kitchen cabinet handles to your doors, minimal stress and DIY involved!
What You Will Need:
-
Chosen Kitchen Cabinet handles
-
Tape measure or ruler
-
Bradawl for making drill holes
-
2mm drill bit which is suitable for drilling into the material
-
Battery operated drill
-
Cross headed or flat headed screwdriver (depending on screws supplied)
-
Supplied screws
-
Masking tape
-
Spirit Level
How To Install Kitchen Cabinet Handles
-
With your chosen pull handles for your kitchen doors, you need to first line up the positioning of where you want to place them. The placement of kitchen handles is up to your individual needs. However, as a general rule of thumb, base unit handles go at the top of the door for easy reach and upper unit handles go at the bottom of the door.

-
Next, you’re going to want to measure and mark to get the positioning you just chose in the right place on those doors.
-
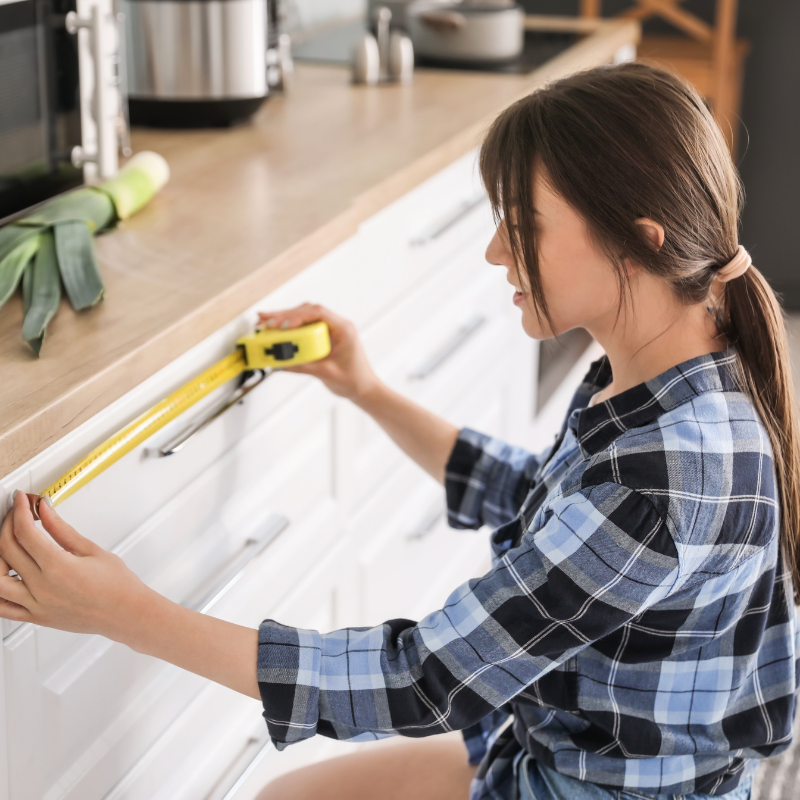
To ensure a professional finish, getting the right measurements is key. Once you have measured in from the leading edge at the desired length, make a light mark with your pencil. Then draw a line across your marks using a spirit level to ensure the handle is level. The below should also help you with getting the correct positioning.
-
To determine the appropriate placement for your door handle, first measure the total height of the door and divide it into three equal parts.
-
From the top of the door, mark the point that corresponds to the top third. This is where the handle will be located.
-
Next, measure the distance between the fixing holes on the handle and subtract this from the height of the top third of the door.
-
Divide the remaining measurement in half to find the location of the first screw hole, and mark this point on the door.
-
Finally, measure down from the first mark the distance between the two screw holes on the handle to mark the location of the second screw hole.
Before you start drilling the holes, offer your handles up to the holes and double check that you are happy with the positioning you have marked out.
-
Now your holes are set, it’s time to get drilling!

We would always recommend using the smaller drill bit to create the hole, you can use a larger drill bit if required, the hole needs to be big enough to take the fixing screws supplied with the pull handles.
5. Grab your new kitchen pull handles, and it’s time to get them installed. Using the fixings supplied with the pull handles, insert the screws into each hole inside the door or drawer, so they are poking outwards. Position the handles to the screw holes and use a screwdriver to secure the screw into the pull handles.
Don’t screw them in too tightly at first, double check you’re happy with how they are sitting and screw them tightly into place once happy.
Affixing new pull handles to your kitchen cabinet handles is an easy to follow process, allowing you to update your kitchen when, and as required. It really is the small details that matter in an interior!
All of our pull handles at Oak & Forge come supplied with fixing screws, if you have any questions about our range of cabinet handles, or are looking for some advice, then please do get in touch!