How To Install Knobs On Cabinets
Posted On: Oct 17, 2022
Categories: Wooden Knobs
How To Install Knobs On Cabinets
Be it traditional wooden knobs or those with a decorative finish, refreshing the existing knobs on your cabinets or cupboards is a fine way to breathe life into a tired piece of furniture, and increase the lifespan of it too.
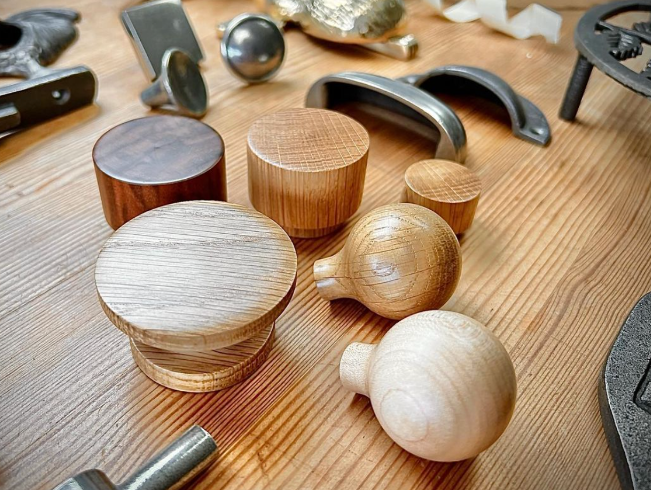
At Oak & Forge we have an extensive range of wooden knobs, available in different wooden finishes, sizes and styles. Whether you’re looking for a traditional or contemporary finish, we have you handled!
If you’re facing your new upcycling project and getting ready to refresh the knobs, in this blog post we explore how to install knobs on cabinets, in a quick, and simple way.
How To Install Knobs On Cabinets
What You Will Need:
-
The cabinet knobs
-
Ruler
-
Pencil
-
Drill
-
Piloting drill bit
-
Masking tape
-
Level
-
Screwdriver
-
Bradawl for making drill hole
-
Screws (screws come supplied with all of our wooden knobs on Oak & Forge)
Fitting Instructions
-
Before getting started you need to work out where you want to fit the knob on the drawer, this is often the centre of the cabinet, but not always. If you are replacing an existing fitting, then you are going to want to cover up the old hole on the drawer.
It’s recommended to do this part first before painting the cabinet again, as you’ll be able to identify if there are any exposed holes from the old fitting that need to be filled, sanded back and painted.
-
We recommend first putting masking tape onto the drawer so that we can draw lines to centre our wooden knob, and not damage the drawer during the process. This is especially important if you are fitting them onto a new kitchen drawer or door as you don’t want to damage the surface whilst doing so.
-
Firstly, we need to find the centre by measuring from either end to the centre to find the exact centre point of the drawer, and where the knob will be fitted. Once you find this point, make a mark onto the masking tape with your pencil.
Again, this is not always the case if you have a wide drawer and are wanting to fit two knobs. For the purpose of this, we will focus on fitting one central knob to our cabinet. Double check all measurements to avoid any mistakes.
-
Now offer the cabinet knob to the drawer where it has been marked, and ensure a mark is also made on the reverse side of the drawer/door. Then use the bradawl to mark the cabinet slightly.
-
Then attach your 2mm drill bill to the drill to drill holes 10mm deep into the drawer on those pencil markings. Now the pilot holes are complete in preparation for the screws to hold the cabinet knob.
-
All of the Oak & Forge decorative & wooden knobs are supplied with the required screws, these are slotted screws so we will need a flat headed screwdriver for this.
-
Then you will need to place the screw through the hole in the knob and engage this with the hole which was drilled out, and insert the screw. Always take care to keep all screws lined up correctly and take your time to ensure screws and drawers do not become damaged.
-
The masking tape remains on to ensure all screws are correctly positioned, and it limits any damage if the screwdriver was to slip. Use a level during this time to ensure the knob is level to the unit.
-
Now your cabinet knob is fixed you can remove if required to paint and finish. Only once the painting has been completed and is fully dry that the knob can be installed to fully complete the look.
We hope you found our step by step guide on installing knobs to cabinets helpful. We also have a video & blog post on how to install cup handles to drawers if this is the chosen style you’re looking to achieve.
If you need any further advice or help with our range of decorative & wooden knobs please do get in touch with us and we’ll be happy to assist.