How To Install Cup Handles On Drawers
Posted On: Aug 17, 2022
Categories: Cup Handles
How To Install Cup Handles On Drawers
Cup handles are a charming choice for cabinet hardware for kitchen cabinets, drawers and other furniture that could benefit from a new lease of life.
This type of cabinet hardware has always been considered of very traditional design, this makes them a popular design choice in period properties and more notably, Farmhouse kitchens.
With a resurgence in their style, and favourable metals such as polished brass which we are seeing weaved through more and more interiors, cup handles are quickly becoming one of the most preferred cabinet hardware styles in homes.
Switching your existing handles to cup handles is a quick, and stylish way to update a kitchen, or other furniture in an affordable way. In this blog, we take a look at how to install cup handles on drawers in a step by step process.
What You Will Need
-
Chosen cup handles
-
Tape measure or ruler
-
Bradawl for making drill holes
-
2mm drill bit which is suitable for drilling into the material
-
Battery operated drill
-
Cross headed or flat headed screwdriver (depending on screws supplied with cup handles)
-
Masking tape
How To Install Cup Handles On Drawers
-
Before getting started you need to work out where you want to fit the cup handle onto the drawer. If you are replacing an existing fitting, then you are going to want to cover up the old hole on the drawer. It’s recommended to do this part first before painting the cabinet again, as you’ll be able to identify if there are any exposed holes from the old fitting that need to be filled, sanded back and painted.
-
We recommend first putting masking tape onto the drawer so that we can draw lines to centre our cup handle, and not damage the drawer during the process. This is especially important if you are fitting them onto a new kitchen drawer or door as you don’t want to damage the surface whilst doing so.
-
Firstly, we need to find the centre by measuring from either end to the centre to find the exact centre point of the drawer. As demonstrated in the below video, this shows an example of a drawer which is 490mm in length, so the centre here would be 245mm. Double check all measurements to avoid any mistakes.

-
If you draw another line of 245mm down the centre and then join the two lines above, you will end up with a line that will run up and down the drawer centre. This is so the hole can be lined correctly.
-
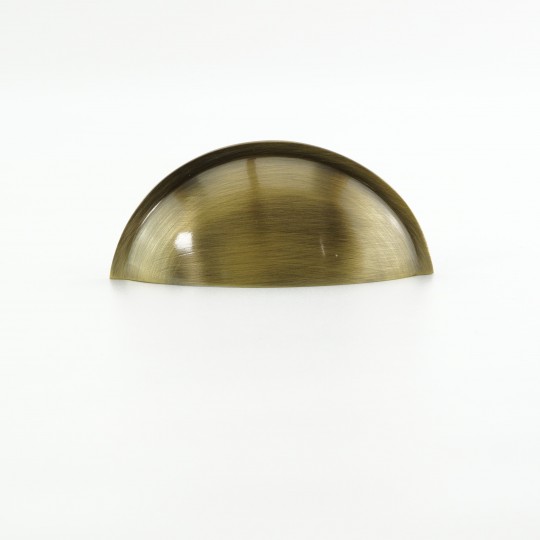
What cup handle you choose is purely preference based. Using this one as shown, the measurements of either side of the handle are 60mm, so we would mark 60mm either side. Once you offer the cup handle to the drawer, the line can then be centred to the hole.
-
Once the cup handle has been placed in position, you should then mark all screw holes onto the masking tape. Now, with three marks for screws on the drawer front, I will use the bradawl to mark the timber slightly.
-
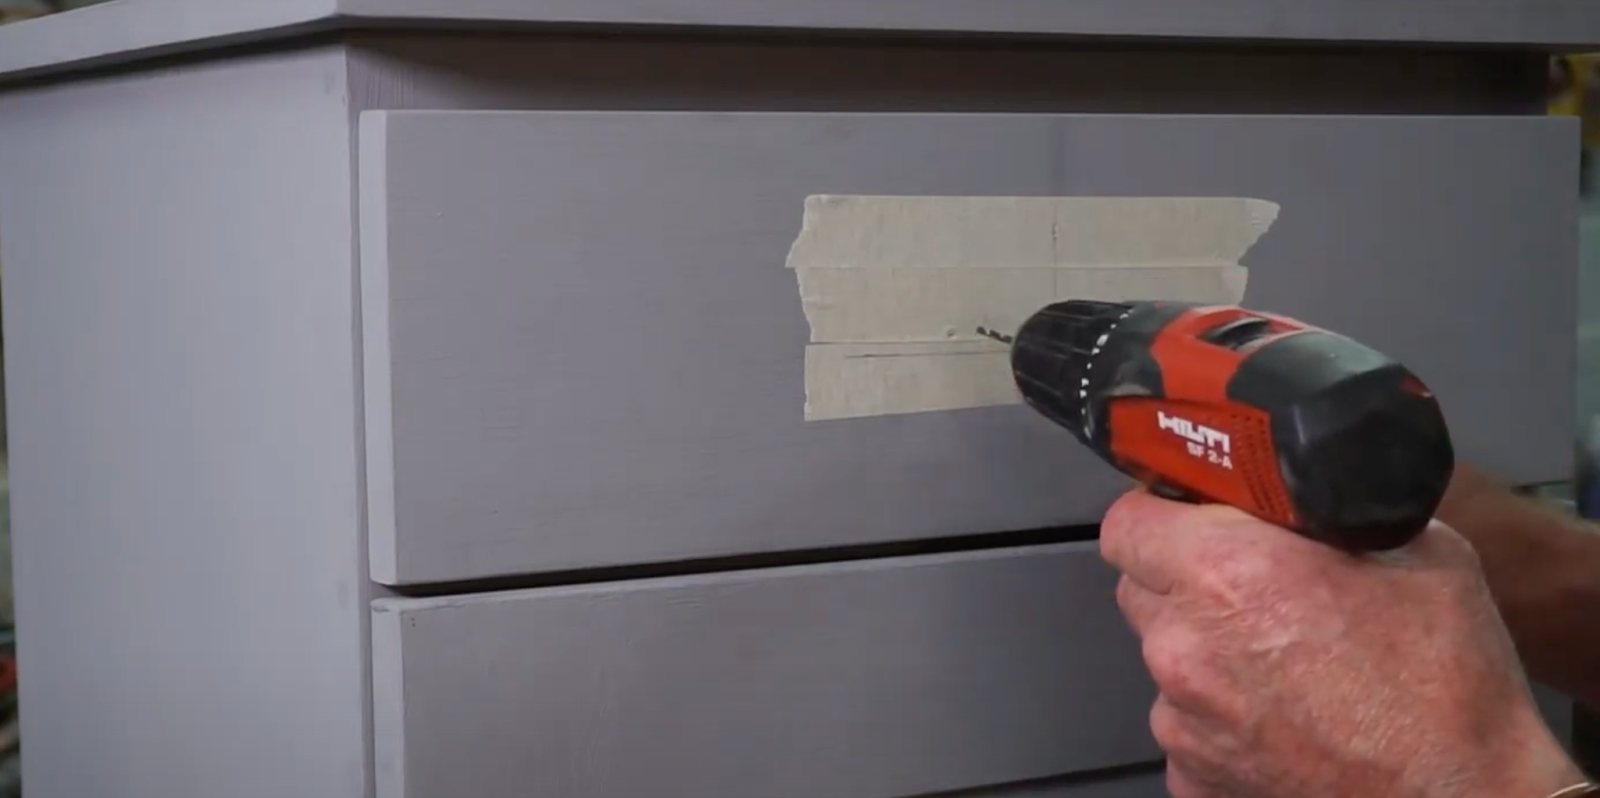
Then attach your 2mm drill bill to the drill to drill holes 10mm deep into the drawer on those pencil markings. Now the pilot holes are complete in preparation for the screws to hold the cup handle.
-
All of the Oak & Forge cup handles are supplied with the required screws, these are slotted screws so we will need a flat headed screwdriver for this.
-
Then you will need to place the screw through the top hole of the handle and engage this with the top hole which was drilled out, and insert the screw. Always take care to keep all screws lined up correctly and take your time to ensure screws and drawers do not become damaged.
-
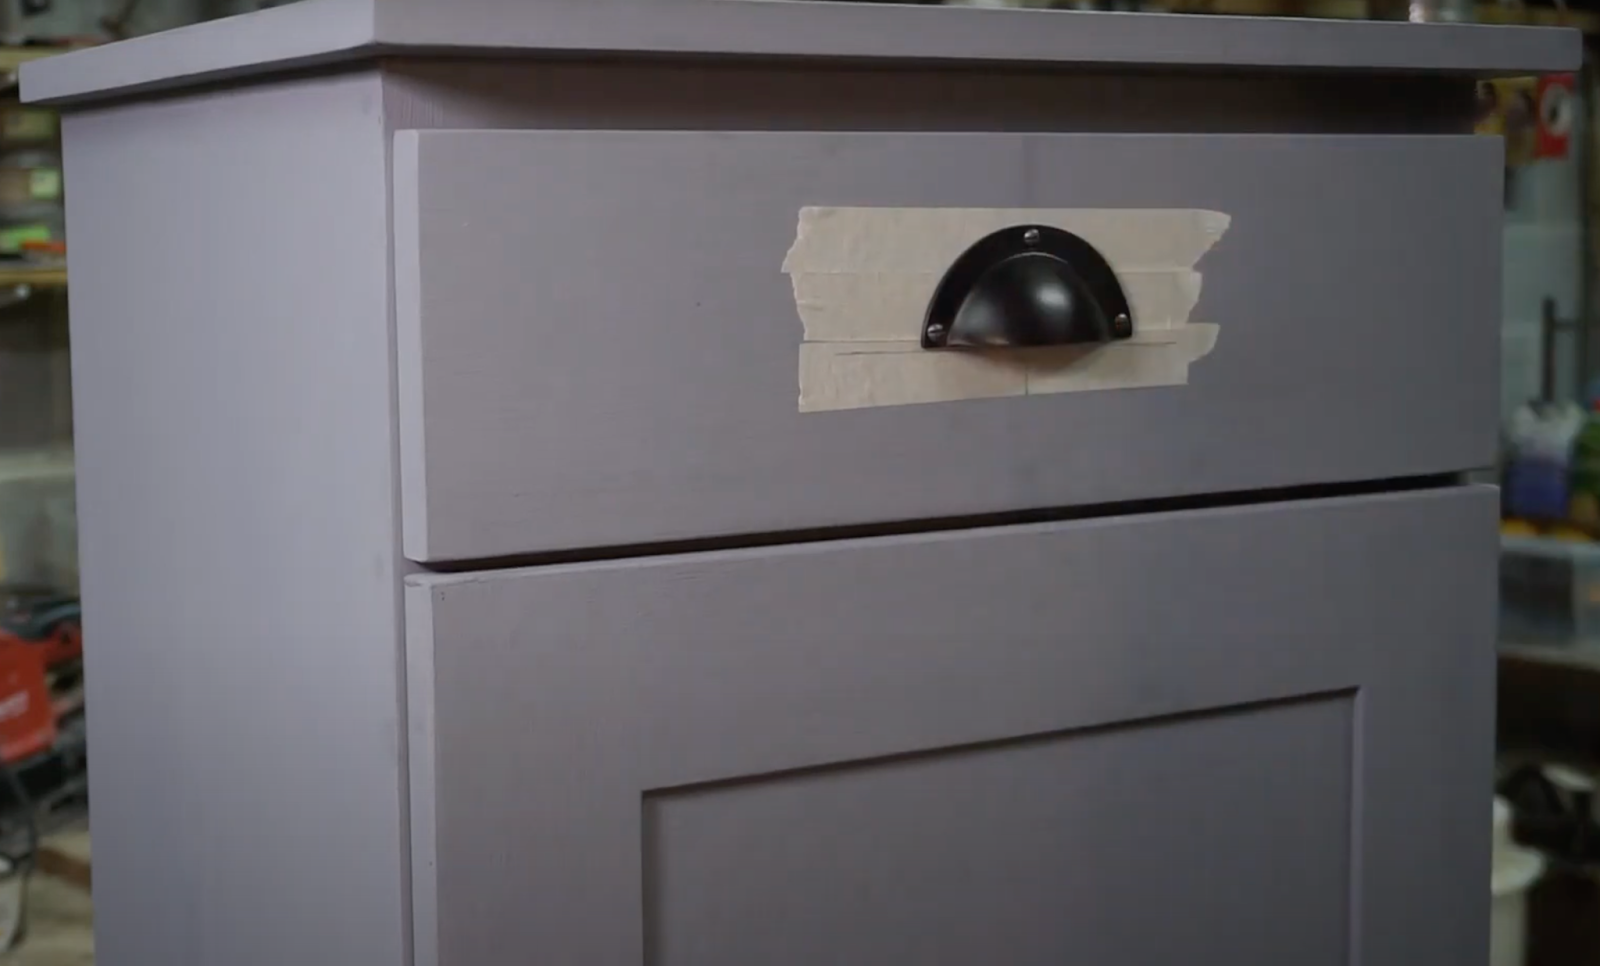
Insert the remaining screws into the holes you previously made on the drawer front, don’t screw them tightly at this stage, this is to ensure you can remove the cup handle for painting and finishing.
-
The masking tape remains on to ensure all screws are correctly positioned, and it limits any damage if the screwdriver was to slip.
-
Now your cup handle is fixed you can remove if required to paint and finish. Only once the painting has been completed and is fully dry that the cup handle can be installed to fully complete the look.
We hope you found our step by step guide on installing cup handles to drawers helpful. If you need any further advice or help with our range of cup handles, please do get in touch with us and we’ll be happy to assist.
If you enjoyed reading this blog on cup handles, you might also like our Cup Handles Buying Guide or our article on Cup Handles Vs Bar Pulls Vs Wooden Knobs.